At this time of year, we are all reminiscing about the Summer and wishing it would go on forever – or at least I am! In late Summer, young hens feel much the same – their preferred trick, depending on the breed (apparently!), is to sit on a nice egg or two.
It all starts ever so inoncently, a single egg laid by a friend and kindly left by the keeper – too tempting to leave unattended for long, especially for some breeds that LOVE to sit ! Such breeds make great mothers and owners should beware if they have no intention of letting them sit – they are stubborn at best!
I won’t provide a list of breeds reputed to have a strong tendency to incubate, nor a list of those that don’t…mainly because the hens I have kept over the years did not read the guidelines and obey the rules ! I had an Araucana (rumpless) that was a great mother to two Cayuga ducks ! Thankfully the ducklings moved out early (to a better suited keeper) so I could return to being a proud owner of bright blue eggs. Having said that, two breeds come to my mind that are proven mothers : the Silkie and the Pekin (both bantams).
Technically, any breed of hen (including hybrids) can incubate – some make great mothers and others are terrible. Its important to remember which ones are which for future reference.
A bad mother hen could be clumsy, or leave the nest half way through development for no apparent reason (we will return to this subject in a moment). She may simply abandon the chicks before they are ready.
A good mother hen is the opposite in every way – she will know when to leave the rest of the eggs that won’t hatch after 22/23 days…she will deliberately kill a chick or an unhatched egg if she senses something wrong. Plus she will also take great care to make sure her babies are warm and safe, showing them what to eat and where to bathe.
Signs of a broody hen
- Sitting all day but seeming happy about it
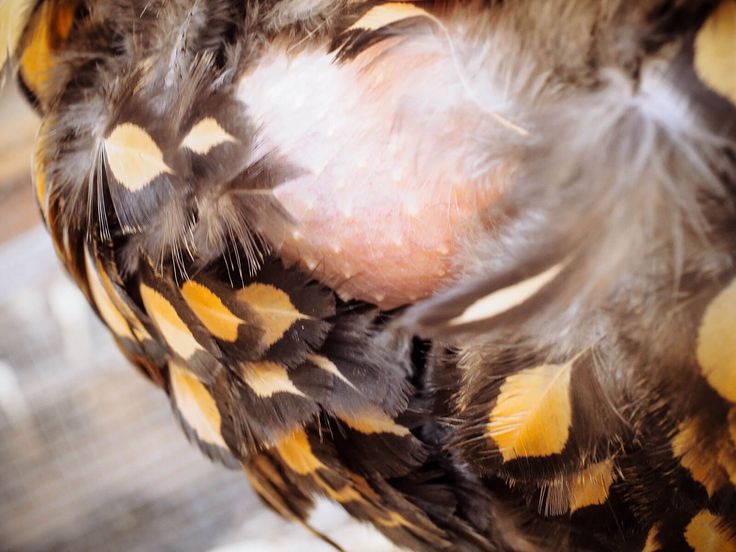
- Pulling her feathers out and sitting on them
- Collecting all and any eggs in the vicinity
- Growling at you when you approach (although my Wyandottes did this anyway when they were laying !)
- She will not get up when you put your hand under her to check for eggs

How to stop a hen from sitting
- Cool her down by way of ventilation where she is sitting, or by removal of the nesting material
- Make her nesting site light (too bright to incubate)
- If she has chosen a nestbox in the main henhouse, leave open the access door for collecting eggs
- Prevent access to her nest
- Removal her constantly (several times a day)
- Regularly remove eggs so she has nothing to sit on
Setting up the nest
If you do nothing, nature will take its course. Whether the hen sits on eggs on the primary henhouse or under a bush, she will sit. It doesn’t matter to a dedicated hen if the eggs are fertile or not. My experience has taught me to err on the side of caution, mainly for the sake of the future chicks.
The best and safest way to let a hen incubate some eggs is to separate her from the rest of the flock. Put her somewhere safe, such as a stone building or even a large rabbit hutch, and she will be happy.
The main reason for separation is for her protection and the chicks’ too. Not to mention that the chicks will require a different feed from the growers and layers – they will grow to be nice and strong if the feed is adapted for their needs.
A hen can hatch chicken or duck eggs but nothing bigger as she is not equipped to sit for more than the required 28 eggs for duck eggs.
She will need the following :
- A clean, dry environment protected from the elements
- Fresh bedding to make a cozy nest
- Ideally wood chippings, straw or chopped hemp – avoid hay as it is too dusty
- Remember to heavily dose the nest with diatomaceous earth or permethryn as a preventative – this saves disturbing her later on.
- If she is in a stone building or outhouse, put a large carboard box down for her (or a cat litter box) – something that is open on one side only. Sitting hens like to be in a darker, quieter environment out of direct view as its makes them feel safe.
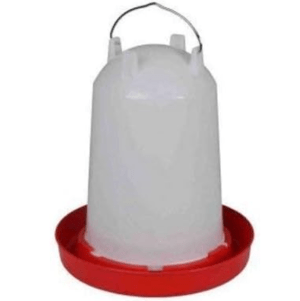
- Fresh water a short walk from the nest
- Mixed grain is the best feed for a sitting hen as it helps firm up the faeces, making less mess in the nest where the eggs are. She will not need layers pellets until she comes back into lay. If she is fed her favourite treat, she will be more inclined to eat.
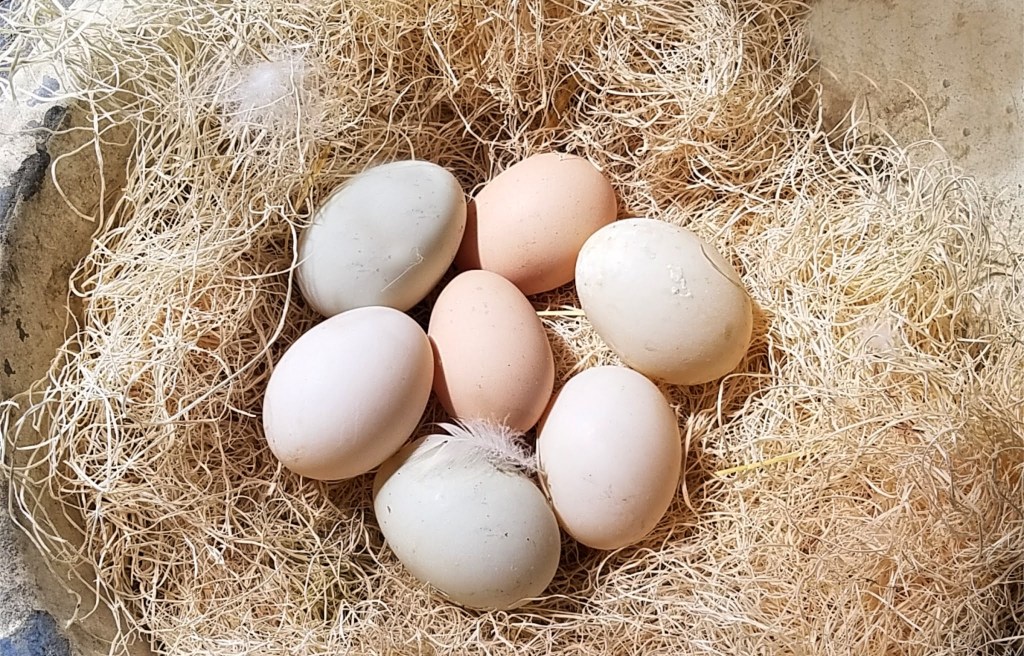
- There should be an odd number of eggs ex. 11 or 13. The only reason is that its easier to make a circle for her to cover. If she is a bantam sitting on large fowl eggs, give her less as her little body will struggle to keep them all warm (I recommend 7 or 9 eggs in this case).
When the area is ready, move the broody hen at dusk or after dark when she is calmest. She will most likely take to the new location in this way. If she doesn’t already have eggs, give her some crock eggs to keep warm until you’re ready to introduce the fertilised eggs you want her to hatch and rear. When you introduce them, give her a few at a time, removing the crock eggs. If she gets too many cold eggs in one go, she may leave the nest. You can add the eggs in two or three batches.
Avoid cooling her down!
If the hen feels safe and secure, she will incubate.
Days 1-7
A hen that is incubating will only leave the nest once a day to eat, drink and have a break. The maximum amount of time is around 20 minutes. No risk comes to the eggs as they will not cool down enough inside during this time.
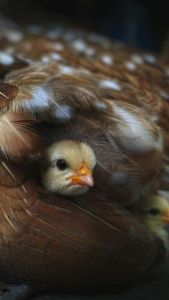
NB – if you see her pulling out her feathers from her chest and stomach, this is totally normal ! She is using her feathers to line the nest, making it even more cozy.
A sitting hen, aside from her daily routine as previously mentioned, is to turn the eggs with her beak. She will do this at least 2-3 times, gently turning them one after the other. The reason for this is to prevent the developping embryo from sticking to the outside of the shell – this is why incubators turn the eggs automatically, nature knows best!
As a side note, when you are doing your twice-daily check on her, if you see dirty eggs don’t panic ! The eggs must not be cleaned as use of any liquid will penetrate the eggshell and risk killing the embryo – if bacteria gets in, eggs can explode if they don’t just sit their going bad and smelling terrible.
If you must clean the eggs from any bad mess, just use a dry cloth or piece of kitchen roll to wipe it away…very gently.
At this stage, no further input is needed from you – enjoy the calm before the storm!
Days 8-15
At this stage, you can start thinking about if you wish to candle the eggs or if you prefer just letting her be and waiting for the big day.
I always preferred to candle so that any non viable eggs can be removed – this also saves « bangers » – eggs that go bad and explode!
If you have never candled an egg before, you’re in for a real treat!
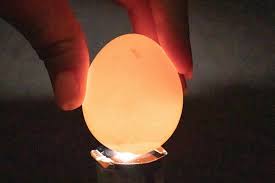

All you need is a cardboard tube, such as from a finished kitchen roll, and a bright torch.
- Wait until it is dark enough and go out, collecting the eggs one at a time.
- Put the blunt end of the egg (where the air sac is) to the cardboard tube and the torch the other end
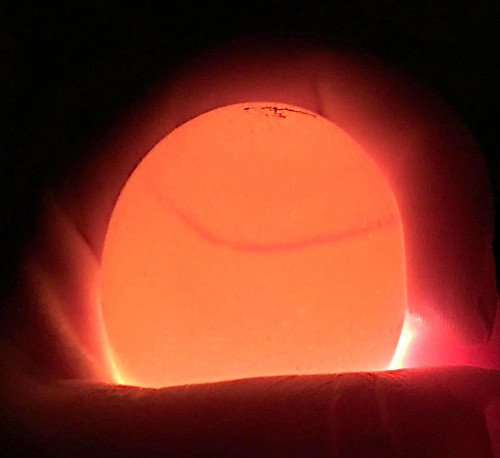
- If the egg is fertile and developing, you will see the spider-like veins running through the egg and possibly the embryo moving around.
- If the egg is infertile, you will simply see a normal undeveloped egg with the darker area being the yolk
- You will notice that the air sac at the blunt end is bigger than on a normal egg from the fridge (do a comparison for reference) – the developping egg will also be lighter in weight as it looses fluid
- Replace the developping eggs gently under the hen – she will settle back down on them happily
Try not to disturb her too much at this stage – she needs all her energy to look after her eggs (remember : she is starving herself, such is her dedication to the task at hand).

Days 19-20
A day or so before the chicks are due to hatch, just make sure everything is ready for their arrival :
- The nest should be clean and free of infestation
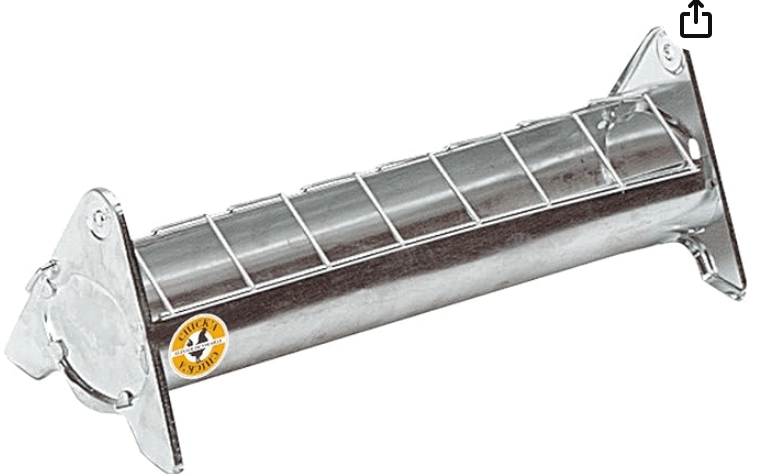
- Change the water to a chick drinker (a mini drinker with a very narrow, shallow lip) – chicks are fascinated by water and can drown, although the risk is much lower with a broody hen
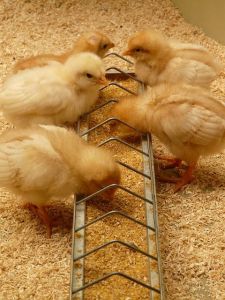
- If you haven’t already done so, change the feed from grain to chick crumb
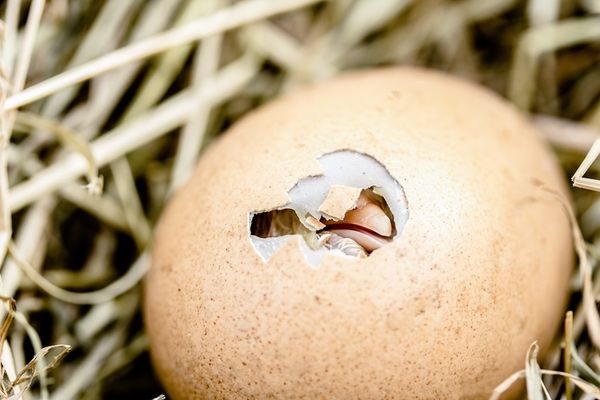
Days 21-22
No, don’t go peeking under the hen every 30 seconds ! She needs the humidity and raised temperature to ensure their successful arrival.
When you see activity, you can remove any shells that the hen has pushed out from underneath her. Wait before removing the rest, however, until all the chicks have hatched and dried out. The ideal time would be when she first leaves the nest to show them how to drink and eat.
A newly hatched chick doesn’t need to eat or drink for up to 48 hours as it is still absorbing the yolk, so don’t worry about timing. The hen won’t leave the nest until either all the eggs have hatched (24 hours after the last one) or day 23 when instinct tells her to care for the ones that have hatched.
If this happens, remove the unhatched eggs at dusk after you have candled them.
Day 23
You will at last be able to get a really good look at the chicks and handle them if you wish ! Sit back and enjoy watching her talk to them, chirping away, clucking to encourage them to eat or drink, or scratch in the litter.
It is fine if you wish to give the clever girl some crushed hard boiled egg – she will likely eat very little of it, choosing to give it to the little ones.
Day 30
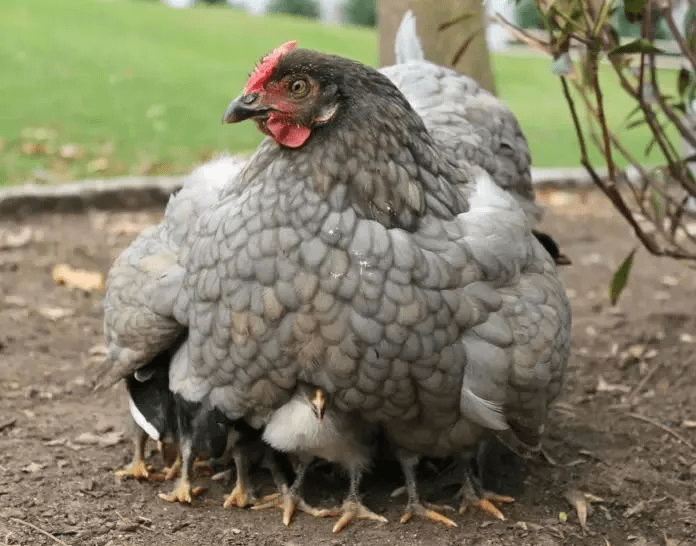
When the chicks are a week old, the mother hen will start straying further from the nest but always returning at night.
You will see her sit down very regularly, so that the chicks can hide under her for safety and warmth.
Keep her separate from the rest of the flock until the chicks are 6 weeks old – it is a good idea to let the rest of the flock see her through a fence, making re introducing her later on much easier.
At 6 weeks old, the chicks no longer need her for warmth and protection, so she will leave them over a period of 3-4 days.
It is up to you to decide if you want to risk letting the whole family run with the rest of the flock, or keep the chicks separate until they are almost fully grown.
However, I would advise keeping them separate if you can. The mother hen will help a little but not overly much – in most cases ! The growing chicks (called growers) will still require a different feed from the rest, so this is a good reason to keep them apart until they are point-of-lay.
Why a hen leaves the nest
There aren’t many reasons for a hen to give up and leave the eggs she has been incubating, so this is a short checklist :
- An infestation of redmite – this can be deadly to a broody hen and her chicks and she knows it. Check the nest every day and act accordingly.
- An unsafe environment – if the hen doesn’t feel safe, she won’t stay put. The chosen nest site has to be the best available. She will leave if its :
- Too noisy
- Too bright
- Not secure from predators
- Exposed to the weather (rain, sun, etc)
- Too damp
- If the eggs have all died or gone bad (rotting)
It should also be noted that a broody hen will loose around 30% of her body weight, so she must be healthy before starting the 3-week starvation. If she is not at her best, choose another hen or wait until she is up to the task. It is not worth risking her health and possibly her life.
Some tips
- Don’t let a hen sit for long on unfertile eggs
- A pullet can go broody after laying just a few eggs (enough to fill a nest)
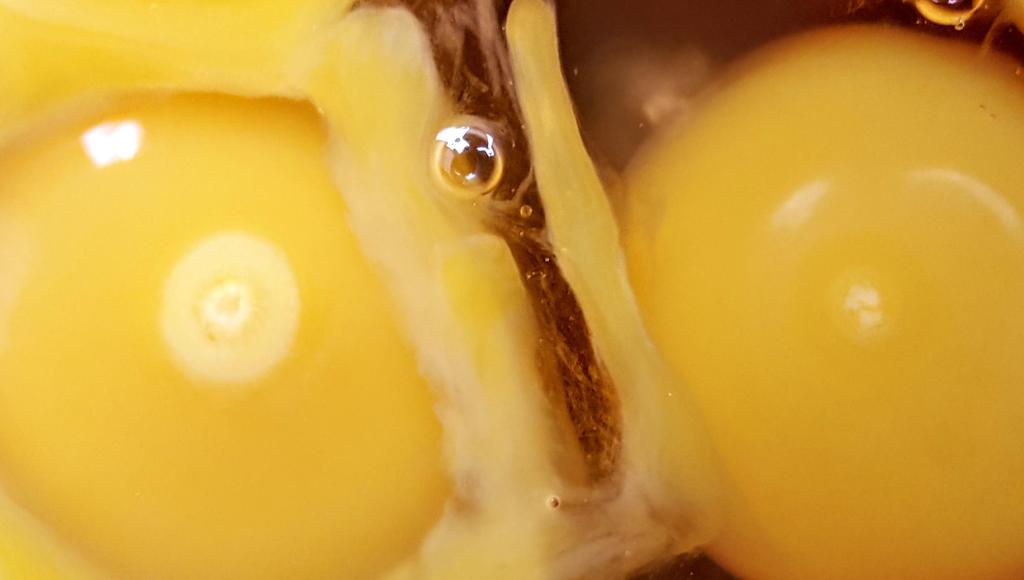
- To know if the eggs are fertile, you can look at the yolk (but won’t be able to use the egg for hatching as you will open it). This will give you an indication if the cockerel is doing his job right!
En savoir plus sur Maman Poule
Abonnez-vous pour recevoir les derniers articles par e-mail.
